How exactly to Fix QuickBooks Error 1911?
QuickBooks is an existing accounting and financial software used to track the company data in an organized way. This accounting software program is used by many small and mid-sized businesses for accounting purposes. It is really not mandatory to possess any technical knowledge to use QuickBooks software. However, QuickBooks users face some bugs and errors during running it. The Error 1911 QuickBooks is one of such common errors that arise during installing the program.
In the given article, we have highlighted “What the error 1911 QuickBooks is” and provided some troubleshooting ways to resolve QuickBooks Error 1911 it instantly. If for any case, you discover hurdles while attempting any of the methods, then you may speak to one of our experts.
Defining the error 1911 QuickBooks
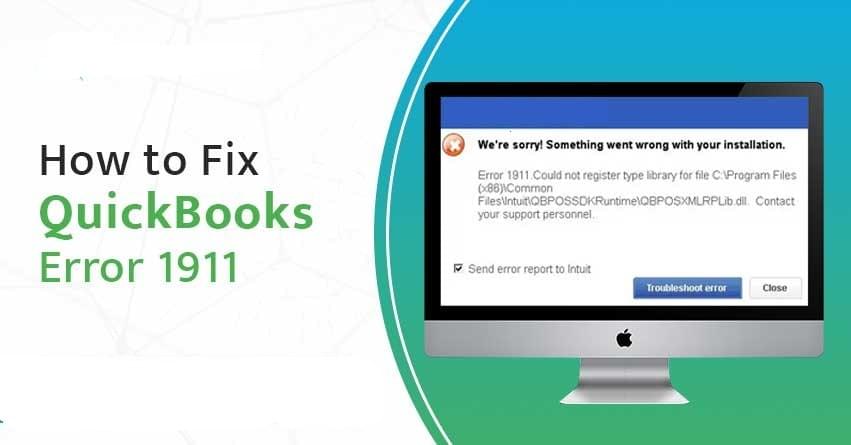
QuickBooks users may get the error code 1911 message during installing QuickBooks accounting software. This message displays that “could not register type library”. Once the user attempts to install QuickBooks Pro 2016 on a Windows Server 2012 R2 machine, then your QuickBooks install error 1911 takes place.
Additionally, QuickBooks Error 1911 occurs at the time of upgrading the operating system like from Windows Vista to Windows 7.
Below you can find the technique to repair the error 1911 QuickBooks.
Solutions to troubleshoot QuickBooks Install Error 1911
Listed here methods could be applied to get rid of QuickBooks error 1911:
Method 1: Install the Adobe Flash Player
First of all, you are required to download and run the QuickBooks Install Diagnostic Tool.
From then on, uninstall the Adobe Flash Player.
Press and keep the Windows + R to open the Run window.
Click the Control Interface.
Select OK.
Choose “Uninstall a program”.
Go through the Adobe Flash Player (ActiveX).
Select uninstall.
You need to follow the instructions prompted in the screen to complete the process.
In the long run, you can download and run the Adobe Flash Player.
Method 2: Correct the settings of this Built-in Administrator
Activate the Built-in Administrator
Press & hold the Windows key.
Write in CMD.
Right-click from the CMD/ Command Prompt/ exe and click on Run as Administrator.
From then on, open the prompt window and write in net user administrator / active: yes.
Press Enter.
Now, you can use Additional instructions on safe mode from Microsoft.
Adjust the Built-in Administrator Account
To begin with, you'll want to press Ctrl + Alt + Delete.
Choose Switch User.
Press the Windows key (For windows 8 user)
Select the user icon by simply clicking top of the right associated with the screen.
Press and hold Ctrl + Alt + Delete and choose the default Administrator account.
Hide the Built-in Administrator account
Choose the Windows key and type CMD.
Now, right-click on CMD/Command Prompt/exe.
Click on Run as Administrator.
You want to type in net user administrator/active: no and press type in the command prompt window.
Modify the Security Settings regarding the installation directory
Run the path C:\Program Files\Common Files.
You will be required to right-click from the Common Files folders.
After that, choose Properties.
Select Edit beneath the Security ta.
Choose Users when you look at the Group or user names.
Go directly to the Permissions for users and choose allow for the permissions written below:
Modify, Read & Execute, List Folder Contents Read and Write.
Choose Apply > OK.
Method 3: Download and navigate the PSExec Directory
Firstly, download PSExec and take out it somewhere.
Locate the QuickBooks installer in identical directory.
Open a heightened command prompt.
Now, you need to install QuickBooks as a system by running:
Psexec-i-s QuickBooks Installer
My QuickBooks install is places in my downloads folder and titled as 1.exe
Access through the installer as normal
Method 4: Change the Setup Editor Settings
You are able to choose the Tables to tab within the Setup Editor only if you do not want to join up your type library file.
Click on the TypeLib table.
Put the row aided by the file specified within the error message.
You need to delete the row and verify if the error 1911 QuickBooks has been fixed.
In Conclusion
Hopefully, you've got read the whole article carefully and discovered it fruitful so that you can fix “QuickBooks Error 1911”. Once we have observed, this error is extremely critical because it restricts you to install or update the QuickBooks software to your latest release. However, the aforementioned methods will allow you to in working with the exact same. If even with applying most of the methods, you may be still confronting the error 1911, then dial our toll-free QuickBooks 24/7 Support Phone Number.